A bright field microscope sits at the foundation of light microscopy. You see one in teaching labs, hospital labs, and quality control rooms. You likely used one during your first practical session. This microscope uses visible light and basic optics. You view dark objects against a bright background. The method feels simple. The science behind the image stays structured and logical. This guide speaks directly to you. You learn how the bright field microscope works. You learn the principle behind image formation. You learn each part using a diagram based explanation. You also compare bright field microscopy with other common methods. The language stays direct. The focus stays practical.
What a Bright Field Microscope is
A bright-field microscope uses transmitted white light. Light passes through the specimen. The specimen absorbs part of the light. The rest travels into the objective lens. The background appears bright. The specimen appears darker due to absorption or scattering.
You mostly use this microscope for stained samples. Stains increase contrast. Without staining, many biological samples blend into the background. This method suits routine work. Teaching labs rely on it. Pathology screening often starts here.
Typical applications include
- Bacterial cell studies after staining
- Tissue sections in histology slides
- Blood smear examination
- Basic material surface inspection
- Routine quality checks in labs
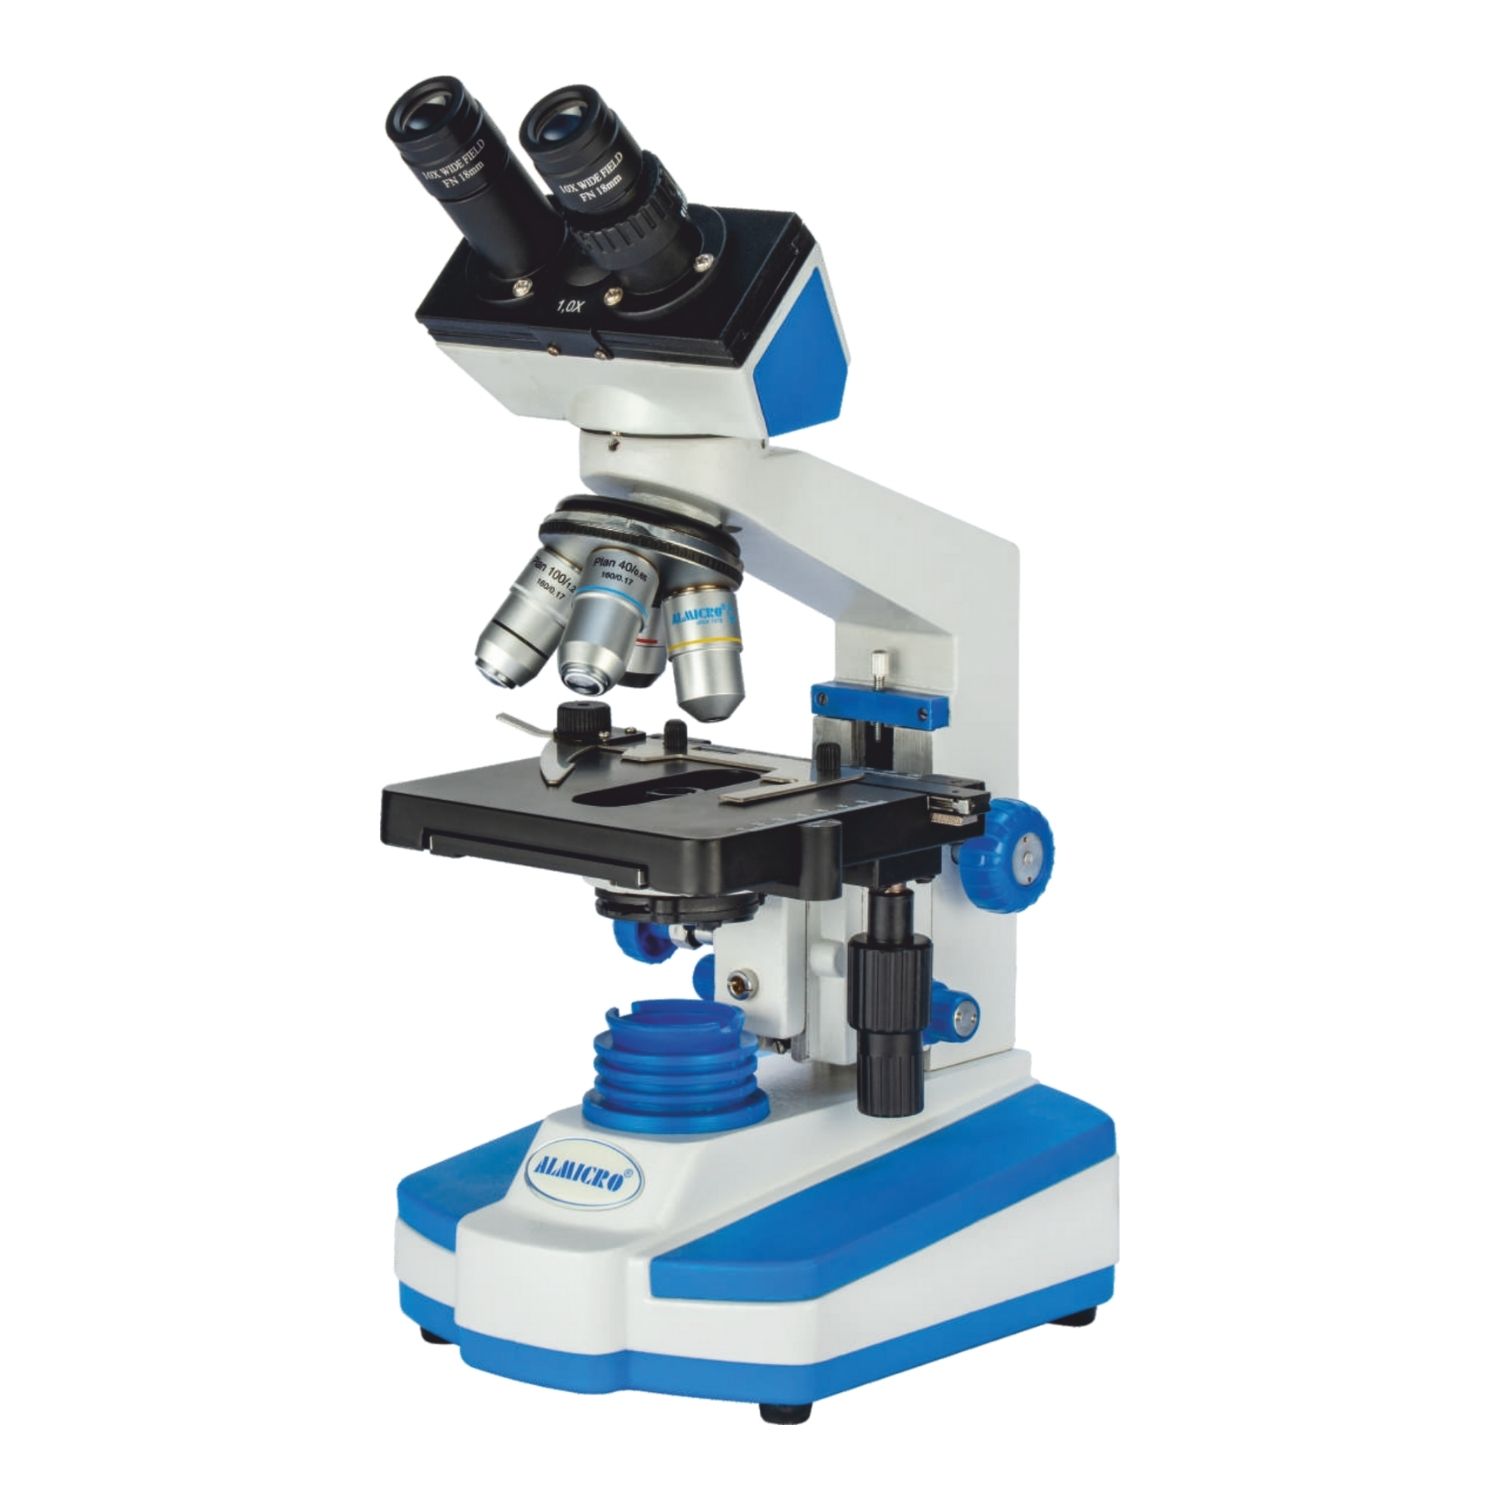
Bright field microscope diagram explained

You often see a labeled diagram in textbooks. Understanding each part helps you control image quality. Below is a structured explanation based on the standard diagram.
Light source
The light source sits at the base. Modern systems use LED lamps. Older models use halogen bulbs. The light travels upward. Stable intensity matters. Uneven light affects contrast.
Condenser
The condenser sits below the stage. This lens focuses light onto the specimen. You adjust the condenser height for optimal focus. Lower positions spread light. Higher positions concentrate light.
Stage
The stage holds the slide. Mechanical stages allow X and Y movement. You position the specimen precisely. Stage clips or slide holders keep the slide stable.
Objective lenses
Objective lenses sit on a rotating nosepiece. Common magnifications include 4x, 10x, 40x, and 100x oil immersion. Each lens changes resolution and field of view.
Eyepiece
The eyepiece magnifies the image formed by the objective. Standard eyepieces offer 10x magnification. The final image forms here for your eyes.
Focusing knobs
Coarse and fine focus knobs adjust the stage height. Coarse focus moves quickly. Fine focus sharpens the image. You always start with low power.
How a Specimen Looks Inside a Bright Field Microscope
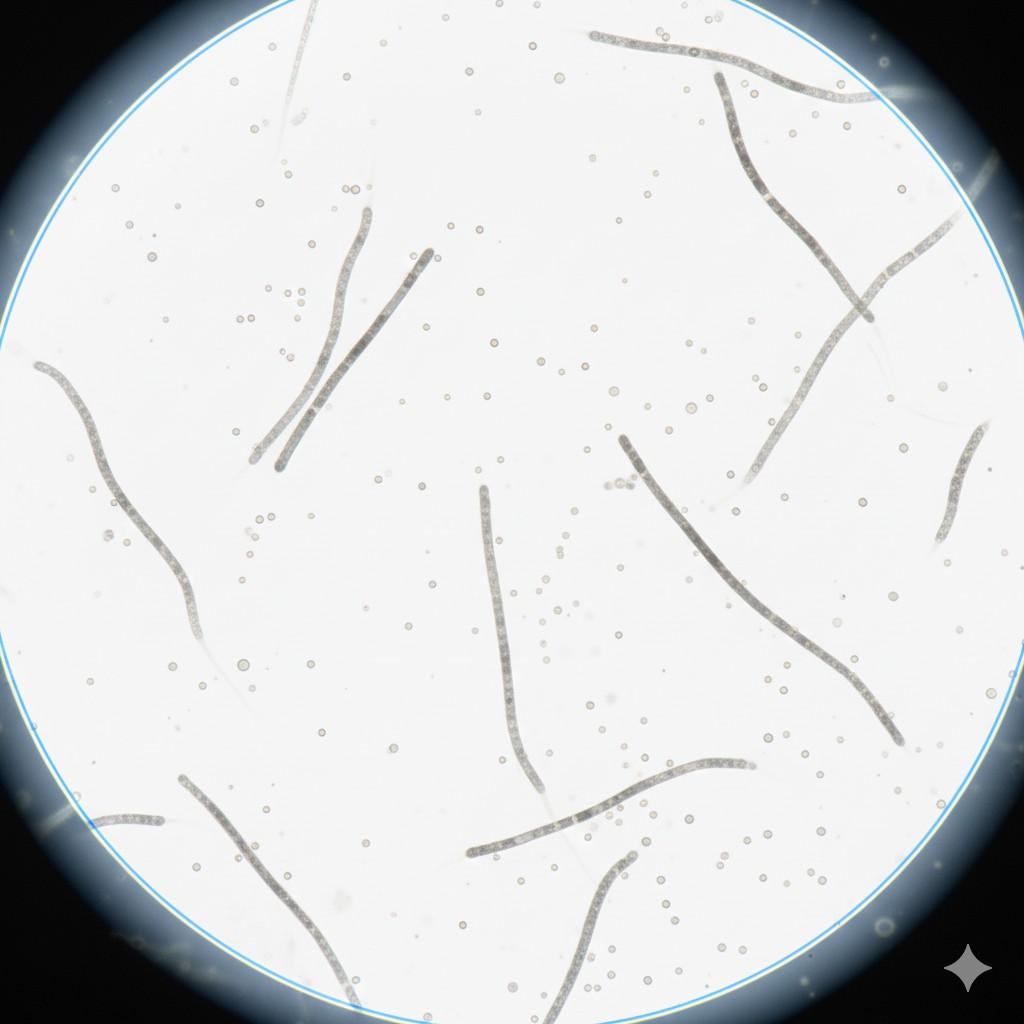
What this image helps you understand
-
The background stays bright due to direct white light
-
The specimen looks dark due to light absorption
-
Contrast depends on staining quality
-
Shape and size become clear at higher magnification
-
Fine details depend on objective lens selection
Why this view matters for learners
When you look through a bright field microscope, this is the exact visual pattern you expect. Bright background. Dark specimen. No special filters. No advanced optics. This image helps you link theory with real lab practice.
Where you see similar views in real labs
Working principle of a bright field microscope
The principle stays optical and straightforward. White light enters the condenser. The condenser directs light through the specimen. The specimen absorbs or scatters part of the light. This difference forms contrast. The objective lens captures the transmitted light. The lens forms a real magnified image. The eyepiece magnifies this image further. Contrast depends on absorption. Transparent samples offer low contrast. Stains fix this issue. Common stains include methylene blue, safranin, and hematoxylin. Each stain binds to specific structures.
Resolution depends on numerical aperture. Higher numerical aperture improves detail. Oil immersion increases numerical aperture. This step reduces light refraction losses.
Step by step working process
You follow a clear sequence during use.
- Switch on the light source
- Place the slide on the stage
- Select the lowest objective lens
- Adjust the condenser height
- Set iris diaphragm opening
- Focus using coarse adjustment
- Refine focus using fine adjustment
- Increase magnification stepwise
- Add immersion oil for 100x lens
Each step affects image clarity. Skipping steps leads to poor results.
Importance of staining in bright field microscopy
Bright field systems depend on contrast. Many biological samples stay transparent. Staining solves this limitation. Stains bind to cellular components. This binding creates dark regions.
Examples include
- Gram staining for bacteria
- Acid fast staining for mycobacteria
- H and E staining for tissue sections
- Giemsa stain for blood cells
You choose stains based on the sample. Incorrect staining ruins contrast. Proper rinsing and timing matter.
Advantages of bright field microscopy
Bright field microscopes remain popular for practical reasons.
- Simple design
- Low cost compared to advanced systems
- Easy maintenance
- Suitable for teaching
- Fast sample screening
Training time stays short. Students learn optics basics here. Lab staff handle routine checks without complex calibration.
Limitations you should know
Every method has limits. Bright field microscopy faces specific issues.
- Low contrast for unstained samples
- Limited depth information
- Lower detail compared to advanced contrast methods
- Sample preparation time due to staining
- Light scattering artifacts
Understanding these limits helps you choose the correct method.
Differences between bright field and dark field microscopy
Bright field and dark field systems differ in light handling.
Bright field microscopy
- Bright background
- Dark specimen
- Transmitted central light
- Best for stained samples
Dark field microscopy
- Dark background
- Bright specimen
- Oblique light
- Useful for thin unstained samples
You choose dark field when staining disturbs structure. You choose bright field for routine stained slides.
Differences between bright field and phase contrast microscopy
Phase contrast suits transparent living samples.
Bright field microscopy
- Needs stains for contrast
- Suitable for fixed samples
- Simple optics
Phase contrast microscopy
- Converts phase shifts into brightness
- Works without stains
- Ideal for live cells
Phase contrast systems cost more. They need special optics. Bright field stays simpler.
Differences between bright field and fluorescence microscopy
Fluorescence uses tagged molecules.
Bright field microscopy
- Uses white light
- Shows general structure
- Low specificity
Fluorescence microscopy
- Uses specific wavelengths
- Shows targeted molecules
- High specificity
Fluorescence systems demand higher investment. Bright field remains the entry point.
Magnification and resolution in bright field microscopy
Magnification alone does not define image quality. Resolution defines detail. Resolution depends on wavelength and numerical aperture.
Typical values include
- 4x objective for scanning
- 10x for overview
- 40x for detail
- 100x oil immersion for bacteria
Oil immersion improves resolution by reducing refraction. You must clean oil after use. Neglect damages lenses.
Common mistakes during use
You avoid errors by following protocol.
- Skipping condenser adjustment
- Opening iris diaphragm too wide
- Using oil on non oil lenses
- Jumping to high power first
- Ignoring slide cleanliness
Each mistake degrades image quality. Training prevents these issues.
Maintenance and care tips
Proper care extends microscope life.
- Clean lenses with lens paper only
- Switch off light after use
- Cover microscope when idle
- Remove immersion oil immediately
- Store in dry conditions
Routine care saves repair costs.
Educational and clinical relevance
Bright field microscopy plays a central role in education. Students learn optics fundamentals. They understand light behavior. They gain manual handling skills.
In clinical labs, bright field microscopy supports initial screening. Blood smears. Urine sediments. Tissue biopsies. Many workflows start here before advanced testing.
Industrial and research relevance
Industries use bright field microscopes for surface inspection. Materials labs check scratches and coatings. Food labs inspect contaminants. Environmental labs inspect water samples after staining.
Researchers use bright field for morphology studies. Early phase screening relies on this method. Advanced imaging follows later.
Why understanding differences matters
Choosing the correct microscopy method saves time. Using bright field for live transparent cells leads to frustration. Using advanced systems for routine stains wastes resources. Knowing differences improves efficiency. You match the method to the task. Bright field fits stained routine work. Other methods suit special needs.
Final practical perspective
Bright field microscopy stays relevant due to simplicity. You gain control over light. You gain control over contrast. You gain foundational microscopy skills. Every advanced method builds on these basics. Mastering bright field microscopy prepares you for complex imaging. You learn optics behavior. You learn sample preparation discipline. You learn systematic observation habits.
This microscope does not fade from labs. Teaching. Diagnostics. Quality control. Research screening. All rely on this basic yet structured tool.
