A compound microscope is a scientific instrument used to see very small objects that cannot be seen with the naked eye. It uses two sets of lenses: the objective lens and the eyepiece lens. These lenses work together to magnify tiny specimens like cells, bacteria, and tissues. A light source at the bottom helps illuminate the sample clearly. Compound microscopes are commonly used in schools, laboratories, and medical institutions for basic biological studies.
Features of a Compound Microscope
-
Equipped with multiple convex lenses that work together for higher magnification
-
Offers a standard magnification range from 40× up to 1000× for detailed observation
-
Uses one objective lens at a time, selected by rotating the nosepiece
-
Produces a flat, two-dimensional image of the specimen
-
Manufactured in monocular, binocular, trinocular, and multi-head versions to suit different laboratory and teaching needs
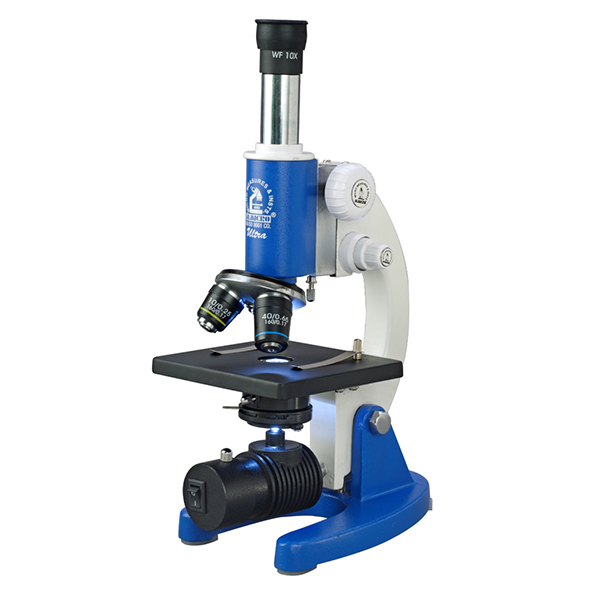
Compound Microscope Diagram

Parts of a Compound Microscope and Their Uses
(Beginner-Friendly Detailed Explanation)
A compound microscope is a laboratory instrument used to observe very small objects like cells, bacteria, and tissues. It works by using two sets of lenses (objective lens and eyepiece lens) to provide high magnification.
Below are the main parts of a compound microscope and their simple uses, explained one by one.
1. Eyepiece (Ocular Lens)
Use:
The eyepiece is the top lens through which we look at the specimen.
Explanation (Easy):
-
It magnifies the image formed by the objective lens
-
Common magnification is 10×
-
Whatever image the objective lens creates, the eyepiece makes it bigger for our eyes
Without the eyepiece, we cannot see the magnified image clearly.
2. Body Tube
Use:
Connects the eyepiece to the objective lenses.
Explanation:
-
Maintains the correct distance between lenses
-
Ensures light travels properly from the objective lens to the eyepiece
-
Helps produce a sharp and clear image
It works like a passage for light and image formation.
3. Revolving Nosepiece
Use:
Holds and rotates the objective lenses.
Explanation:
-
Allows us to switch between low, medium, and high magnification
-
Rotating it changes the objective lens in use
-
Makes the microscope flexible for different observations
This is how we zoom in step by step.
4. Objective Lenses
Use:
These lenses provide the main magnification.
Explanation:
Common types:
-
10× (Low power) – for finding the specimen
-
40× (High power) – for detailed viewing
-
100× (Oil immersion) – for bacteria and microbes
Higher the objective lens power, higher the magnification.
5. Stage
Use:
The platform where the glass slide is placed.
Explanation:
-
Holds the specimen slide steadily
-
Has a central hole to allow light to pass through
-
Provides a flat and stable surface for observation
Without the stage, the slide cannot be positioned properly.
6. Stage Clips (Specimen Clips)
Use:
Hold the slide firmly on the stage.
Explanation:
-
Prevents slide movement during observation
-
Keeps the specimen in the correct position
-
Ensures image does not shift while focusing
Very important for clear and stable viewing.
7. Condenser
Use:
Concentrates light onto the specimen.
Explanation:
-
Collects light from the illuminator
-
Focuses it directly on the specimen
-
Improves brightness and image clarity
A good condenser gives a sharper and brighter image.
8. Illuminator / Mirror
Use:
Provides light for viewing the specimen.
Explanation:
-
Modern microscopes use an electric light source
-
Older microscopes use a mirror to reflect light
-
Light passes upward through the specimen
Without light, the specimen cannot be seen.
9. Coarse Focusing Knob
Use:
Moves the stage up and down for rough focusing.
Explanation:
-
Used first while focusing
-
Brings the specimen into general focus quickly
-
Used with low-power objective lens
Never use coarse knob with high power lens.
10. Fine Focusing Knob
Use:
Used for precise and sharp focusing.
Explanation:
-
Adjusts the image slightly
-
Used after coarse focusing
-
Essential for high magnification observation
Gives crystal-clear image details.
11. Arm
Use:
Supports the upper part of the microscope.
Explanation:
-
Connects the base to the body tube
-
Used to carry the microscope safely
-
Holds focusing knobs and mechanical parts
Always hold the microscope by the arm.
12. Base
Use:
Supports the entire microscope.
Explanation:
-
Provides stability
-
Houses the illuminator
-
Keeps microscope balanced on the table
Strong base = stable microscope.

Parts of a Compound Microscope and Their Uses (Beginner Explanation)
A compound microscope has many parts, and each part has a specific role in magnifying and viewing tiny objects clearly.
1. Eyepiece (Ocular Lens)
The eyepiece is the top lens where you place your eye. It further magnifies the image formed by the objective lens. Most eyepieces have a magnification of 10×, which makes the final image easier to see.
2. Objective Lenses
Objective lenses are attached to the revolving nosepiece. These lenses provide the main magnification of the specimen. Common objective lenses are 4×, 10×, 40×, and 100×. Only one objective lens is used at a time.
3. Revolving Nosepiece
This rotating part holds the objective lenses. By rotating it, you can change magnification levels smoothly without moving the slide.
4. Body Tube
The body tube connects the eyepiece and objective lenses. It maintains the correct distance between the lenses so the image remains clear and focused.
5. Stage
The stage is the flat platform where the glass slide is placed. It has clips or a mechanical stage to hold the slide firmly during observation.
6. Condenser
The condenser is located below the stage. It focuses light onto the specimen, improving image sharpness and contrast.
7. Iris Diaphragm
This part controls the amount of light reaching the specimen. Adjusting it helps improve clarity and reduces glare.
8. Light Source (Illuminator)
The light source provides illumination from below the stage. Modern microscopes use LED or halogen lights for bright and even lighting.
9. Coarse Adjustment Knob
This knob is used for rough focusing. It moves the stage up and down quickly and is mainly used with low-power objectives.
10. Fine Adjustment Knob
The fine adjustment knob is used for precise focusing. It helps sharpen the image, especially at higher magnifications.
11. Arm
The arm supports the upper parts of the microscope and is used to carry the microscope safely.
12. Base
The base is the bottom support of the microscope. It provides stability and usually houses the light source.