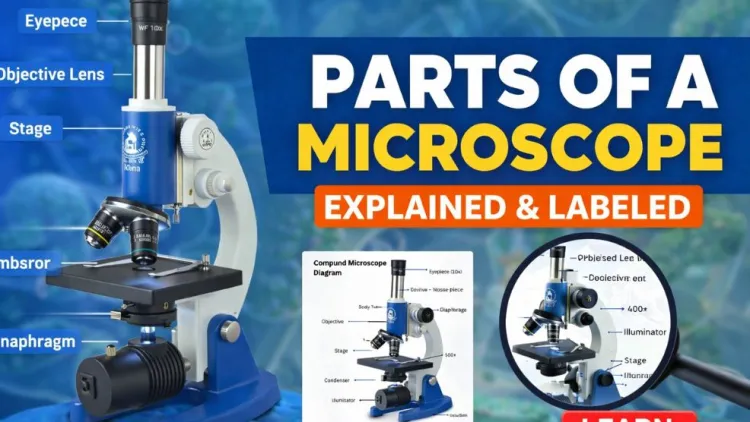
Parts of a Microscope: Functions, Working, and Explanation of Microscope Parts
Understanding the parts of a microscope is essential for anyone studying biology, working in a laboratory, or using optical instruments in research and diagnostics. Each microscope component has a specific function, and together these components form a precise system that enables magnification and accurate observation. When students learn microscope parts labeled in diagrams, they are not just memorizing names—they are learning how the parts of the microscope work together to produce a clear image. A solid understanding of the parts of a microscope ensures correct usage, better results, and longer instrument life. For laboratories and institutions sourcing high-quality instruments, choosing a reliable microscope manufacturer in India is equally important to ensure precision, durability, and consistent performance.
Invention and Basic Idea of the Compound Microscope
The compound microscope is one of the most important tools ever developed in science and medicine. The invention of the compound microscope is generally credited to Zacharias Janssen, a Dutch spectacle maker, around the year 1590. His work laid the foundation for an instrument that could magnify objects far beyond what the human eye can see.

A compound microscope works by using light and multiple lenses to enlarge an image. Because it depends on visible light, it is also known as an optical microscope or light microscope, which clearly separates it from electron microscopes that use electron beams instead of light.
To understand why a compound microscope is so effective, it helps to compare it with the simplest optical tool—the magnifying glass. A magnifying glass uses a single lens and typically provides magnification up to 10×. While useful for basic inspection, it cannot show fine cellular or microbial details. The compound microscope overcomes this limitation through a combination of lenses and precisely designed microscope parts.
Lens Systems Used in a Compound Microscope
The term compound refers to the use of two lens systems working together. These lens systems are the core optical parts of a microscope and are responsible for magnification and image clarity.
1. Ocular (Eyepiece) Lens
The ocular lens, or eyepiece, is the lens you look through. Most compound microscopes use a 10× eyepiece, though some models may use 15×. The eyepiece enlarges the image already created by the objective lens, making it visible and comfortable for the human eye.
2. Objective Lens
The objective lens is located closest to the specimen. It captures light from the sample and forms the first magnified image. The quality of the objective lens directly affects resolution, sharpness, and detail, which is why it is considered the most critical of all microscope parts. Before purchasing or using a compound microscope, it is essential to understand how these lenses work together and how other parts of a microscope support this process.
The Functions and Parts of a Microscope

To use a microscope properly, one must understand the parts of a microscope and the function of each component. Below is a clear explanation of the main microscope parts found in a standard compound microscope.
Eyepiece Lens
The eyepiece lens is located at the top of the microscope and is used for viewing the specimen. It usually provides 10× or 15× magnification. This is one of the most recognizable microscope parts labeled in diagrams used in schools and laboratories.
Tube (Body Tube)
The tube connects the eyepiece to the objective lenses. Its role is to maintain the correct optical distance between lenses so that the image remains properly focused and aligned.
Arm
The arm supports the tube and connects it to the base. It also serves as the correct place to hold the microscope while carrying it. Structurally, the arm is one of the key supporting parts of microscope design.
Base
The base is the bottom part of the microscope and provides stability. In modern microscopes, the base often contains the illumination system. A heavy, well-designed base reduces vibration during observation.
Illuminator
The illuminator is the built-in light source of the microscope. Modern microscopes use electric illumination instead of mirrors. If a mirror is present, it reflects external light upward through the stage. Proper illumination is essential for clear observation.
Stage with Stage Clips
The stage is the flat platform where the slide is placed. Stage clips hold the slide in position.
If the microscope has a mechanical stage, the slide can be moved precisely using control knobs—one for left-right movement and one for forward-backward movement. This makes scanning the specimen much easier and more accurate.
Revolving Nosepiece (Turret)
The revolving nosepiece holds two or more objective lenses and allows the user to change magnification by rotating the objectives. This part ensures that each objective lens aligns correctly with the optical path.
Objective Lenses
Most compound microscopes have three or four objective lenses, typically:
-
4× (scanning)
-
10× (low power)
-
40× (high power)
-
100× (oil immersion)
When combined with a 10× eyepiece, total magnification becomes 40×, 100×, 400×, and 1000×.
To achieve clear resolution at 1000×, the microscope must include a high-quality Abbe condenser. Objective lenses are color-coded, built to international DIN standards, and often spring-loaded to protect both the lens and the slide. These are precision-engineered microscope parts designed for long-term laboratory use.
Rack Stop
The rack stop limits how close the objective lens can move toward the slide. This factory-set safety feature prevents students and beginners from damaging slides or objective lenses. It is one of the most practical protective parts of the microscope, especially in educational labs.
Condenser Lens
The condenser lens focuses light onto the specimen. It becomes especially important at 400× magnification and above.
For microscopes that reach 1000×, a condenser with a high numerical aperture (such as 1.25 NA) is essential. The condenser can be raised or lowered to optimize illumination at different magnifications.
Diaphragm or Iris
The diaphragm controls the amount and angle of light entering the specimen. By adjusting it, users can improve contrast and image clarity. There is no fixed setting—adjustment depends on the specimen, staining, and objective lens being used.
How to Focus a Microscope Correctly
Proper focusing is a skill that depends on the correct use of microscope parts.
Always start with the lowest power objective. While looking from the side, bring the objective close to the slide without touching it. Then look through the eyepiece and slowly focus upward until the image becomes sharp. Once focused at low power, higher magnifications can be selected with only minor fine-focus adjustments. This method protects both the slide and the objective lenses.
Difference Between Compound Microscope Parts and Other Microscope Parts
Compound microscopes differ from other microscopes in design and function.
-
Objective lenses: Compound microscopes use multiple objectives on a rotating nosepiece, while stereo microscopes usually have fixed magnification.
-
Eyepiece system: Compound microscopes commonly use binocular eyepieces; other microscopes may use monocular or digital viewing.
-
Magnification range: Compound microscopes are designed for high magnification and fine detail.
-
Illumination: They use transmitted light passing through thin specimens.
-
Specimen type: Compound microscopes are used for thin, transparent samples mounted on slides.
Because of these differences, microscope parts labeled for compound microscopes are not always the same as those found in other microscope types.
Final Note
The compound microscope is a carefully engineered instrument where every component has a specific role. Understanding the parts of the microscope, how each microscope part functions, and how they work together is essential for accurate observation and safe handling.Whether used in classrooms, medical labs, or research facilities, clear knowledge of parts of a microscope transforms basic viewing into meaningful scientific analysis.
Related Article
2. Microscope Diagram and Working